Getting Started with Whappy
Whappy helps you automate WhatsApp conversations to qualify leads and book appointments. This guide walks you through setting up your first campaign, from initial context to managing qualified leads.1. Create Your First Campaign
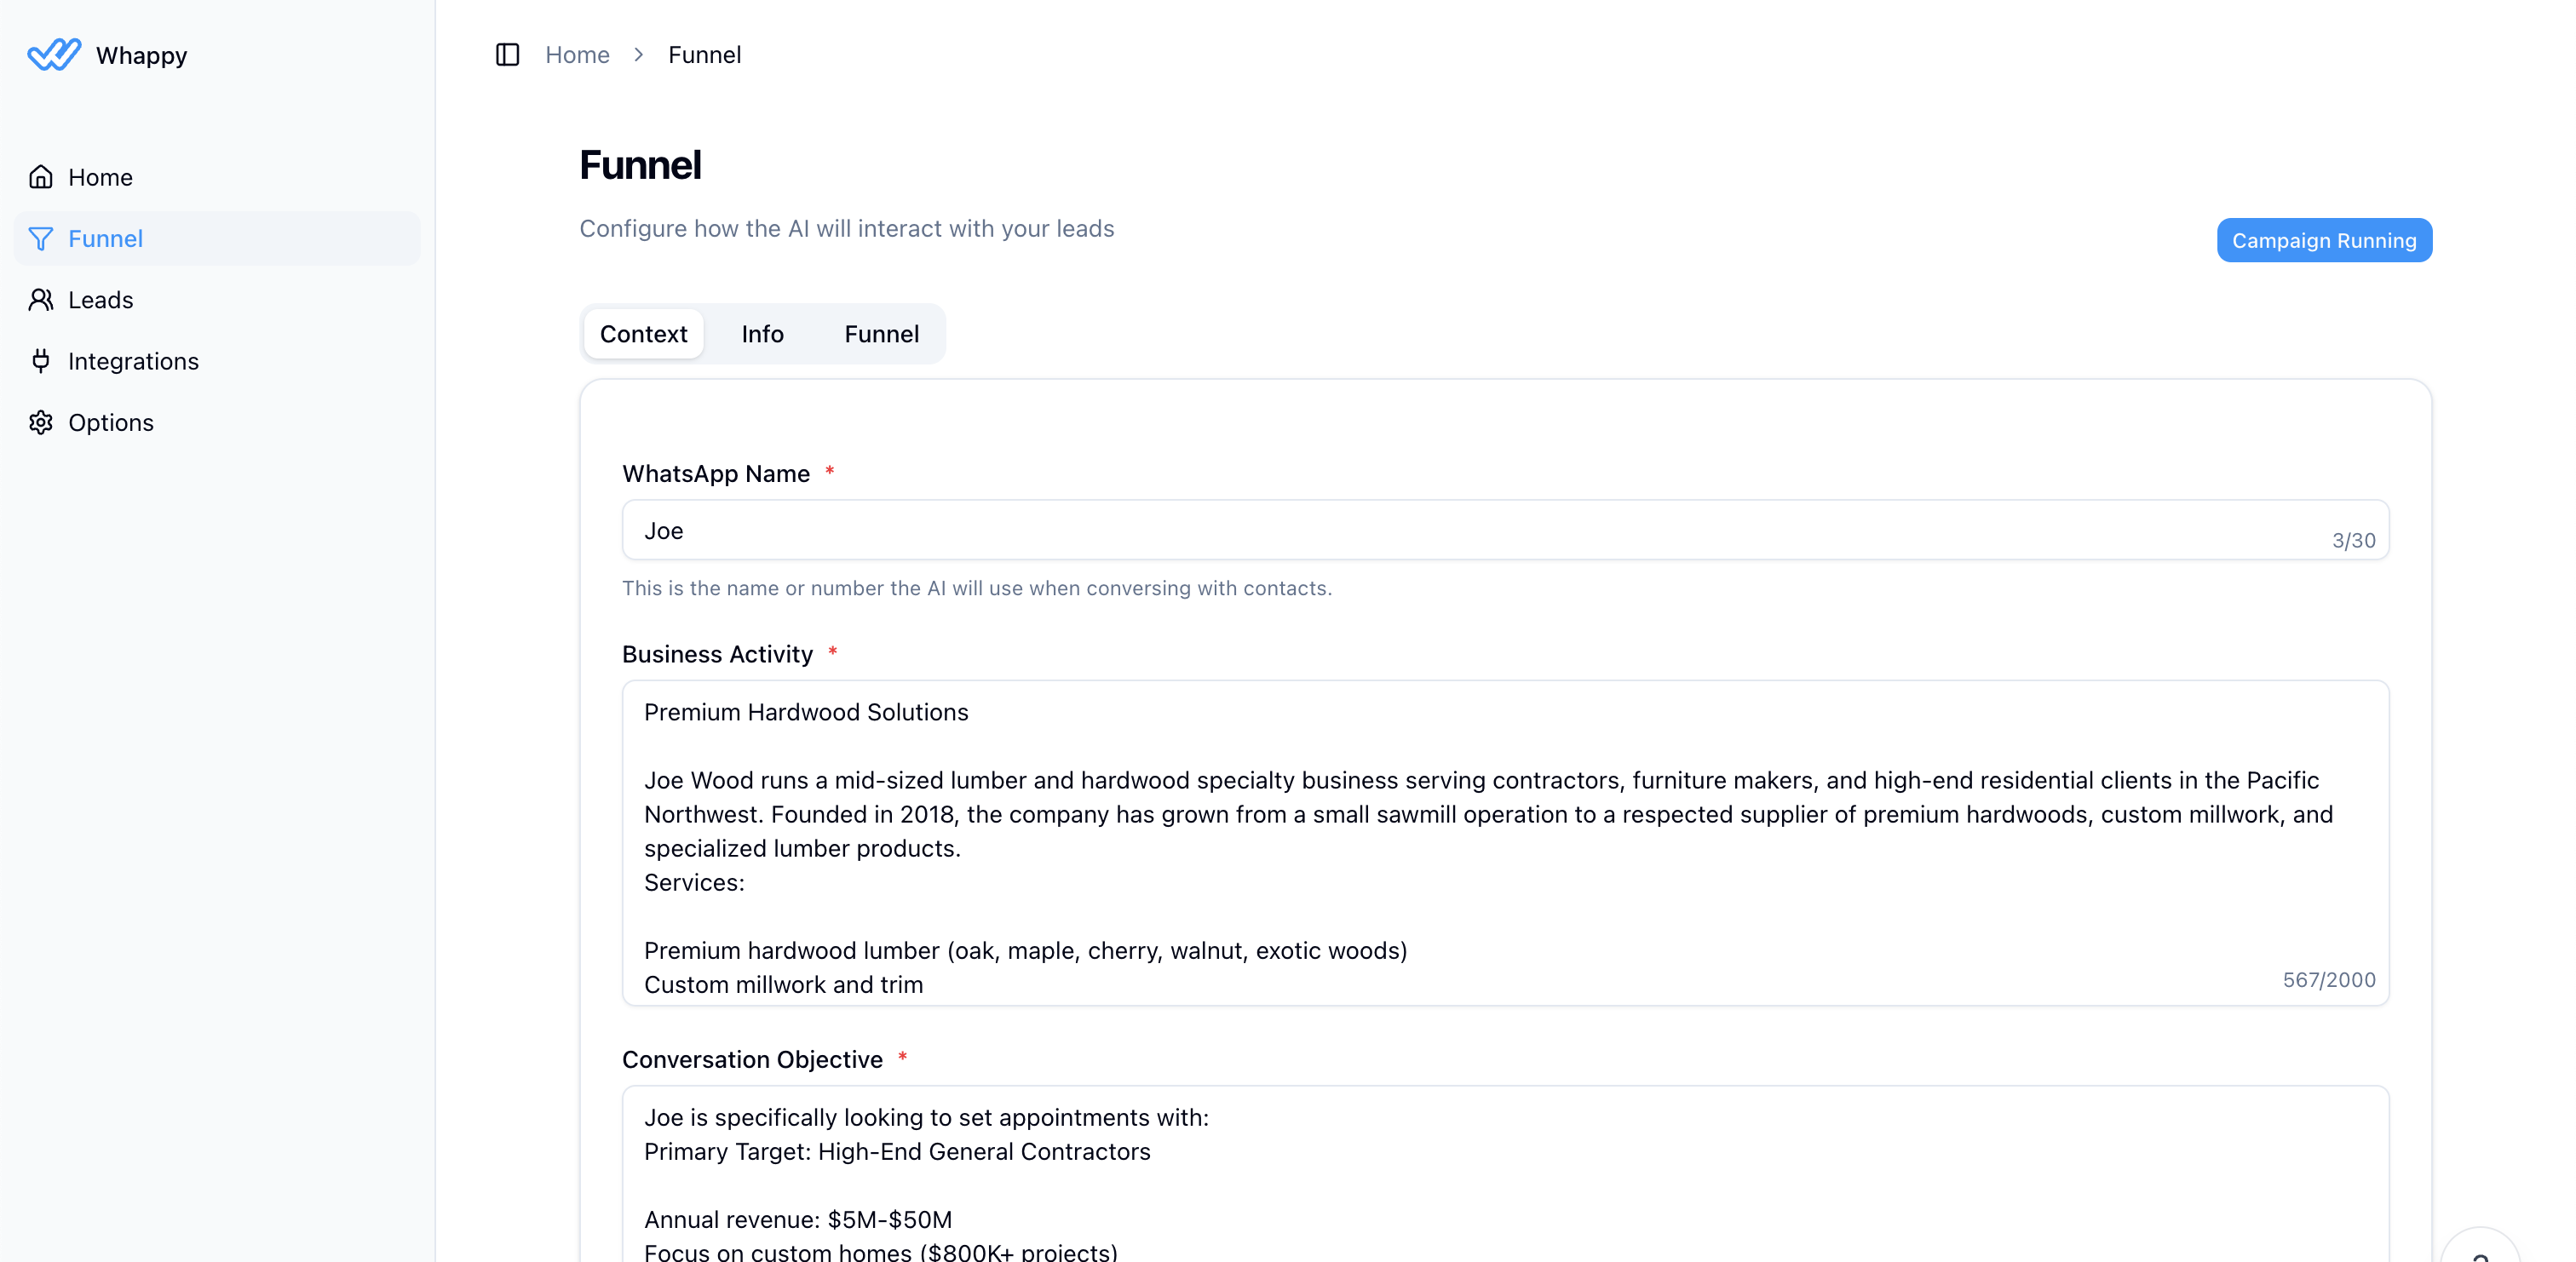
Start by navigating to Dashboard → Campaign to set up your WhatsApp automation campaign.Set Your Context
Define the foundation of your AI assistant:- WhatsApp Name: The name your AI will use when messaging leads
- Business Activity: Describe what your business does
- Conversation Objective: What you want to achieve (qualify leads, book demos, etc.)
- Additional Information: Any extra context the AI should know
2. Define Lead Information Fields
Navigate to the Info tab to specify what information you want to collect from leads during your WhatsApp conversations.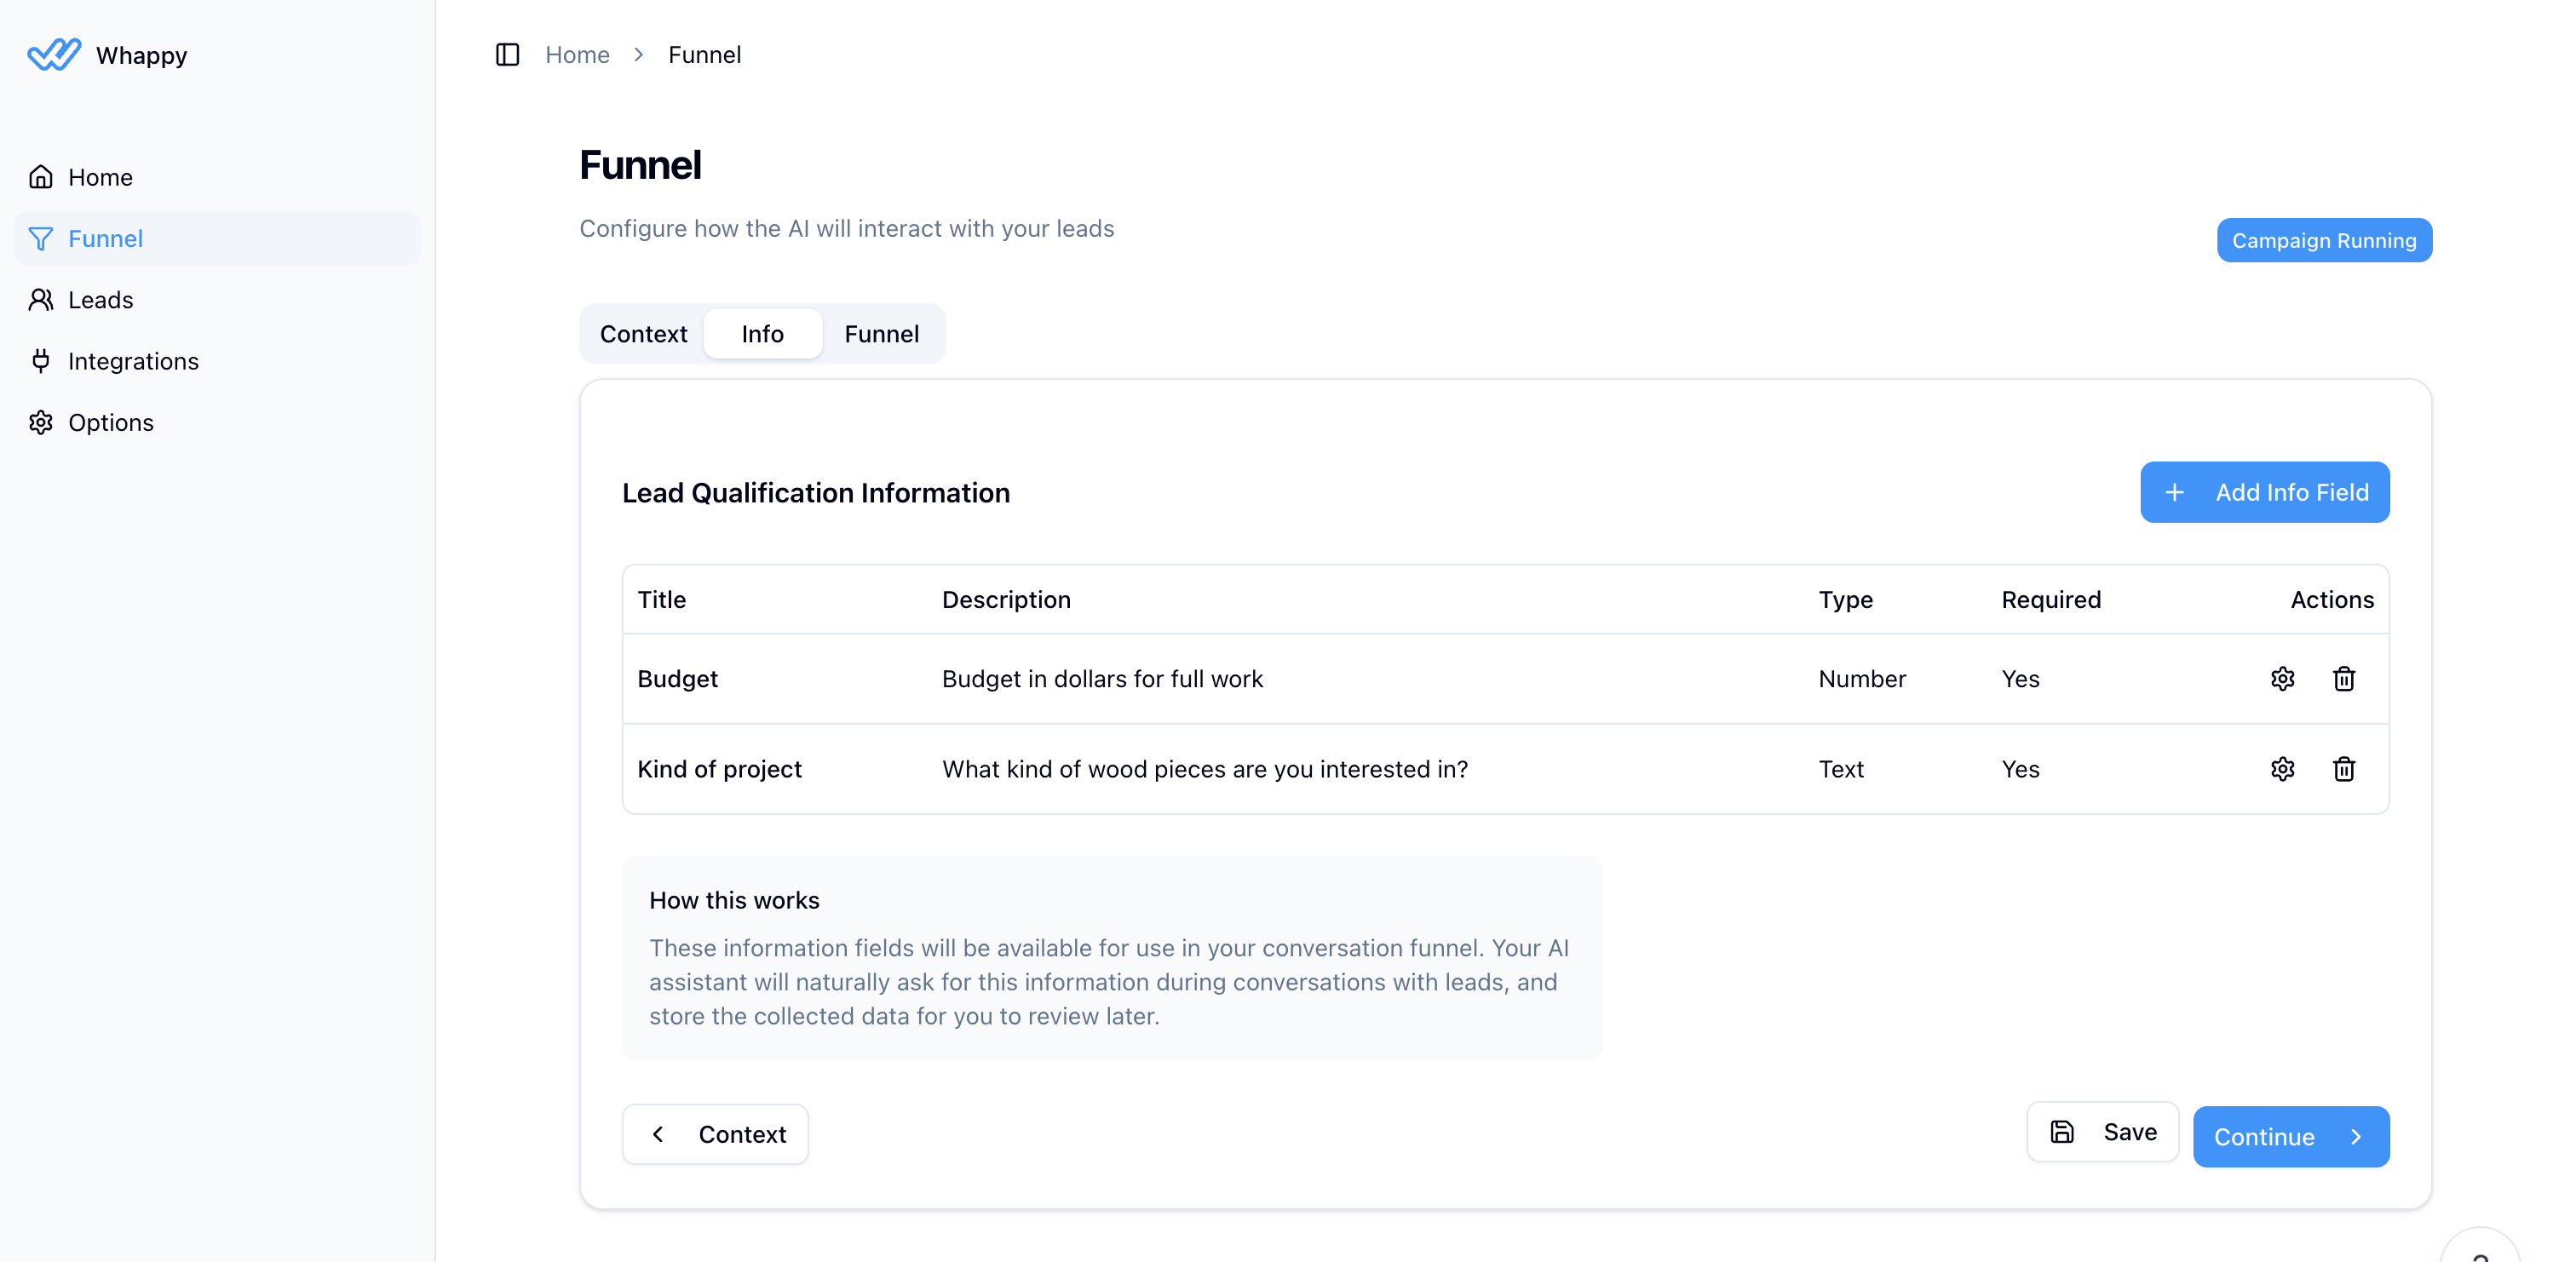
- Budget range (Multiple choice)
- Project timeline (Text input)
- Company size (Number)
3. Build Your Conversation Funnel
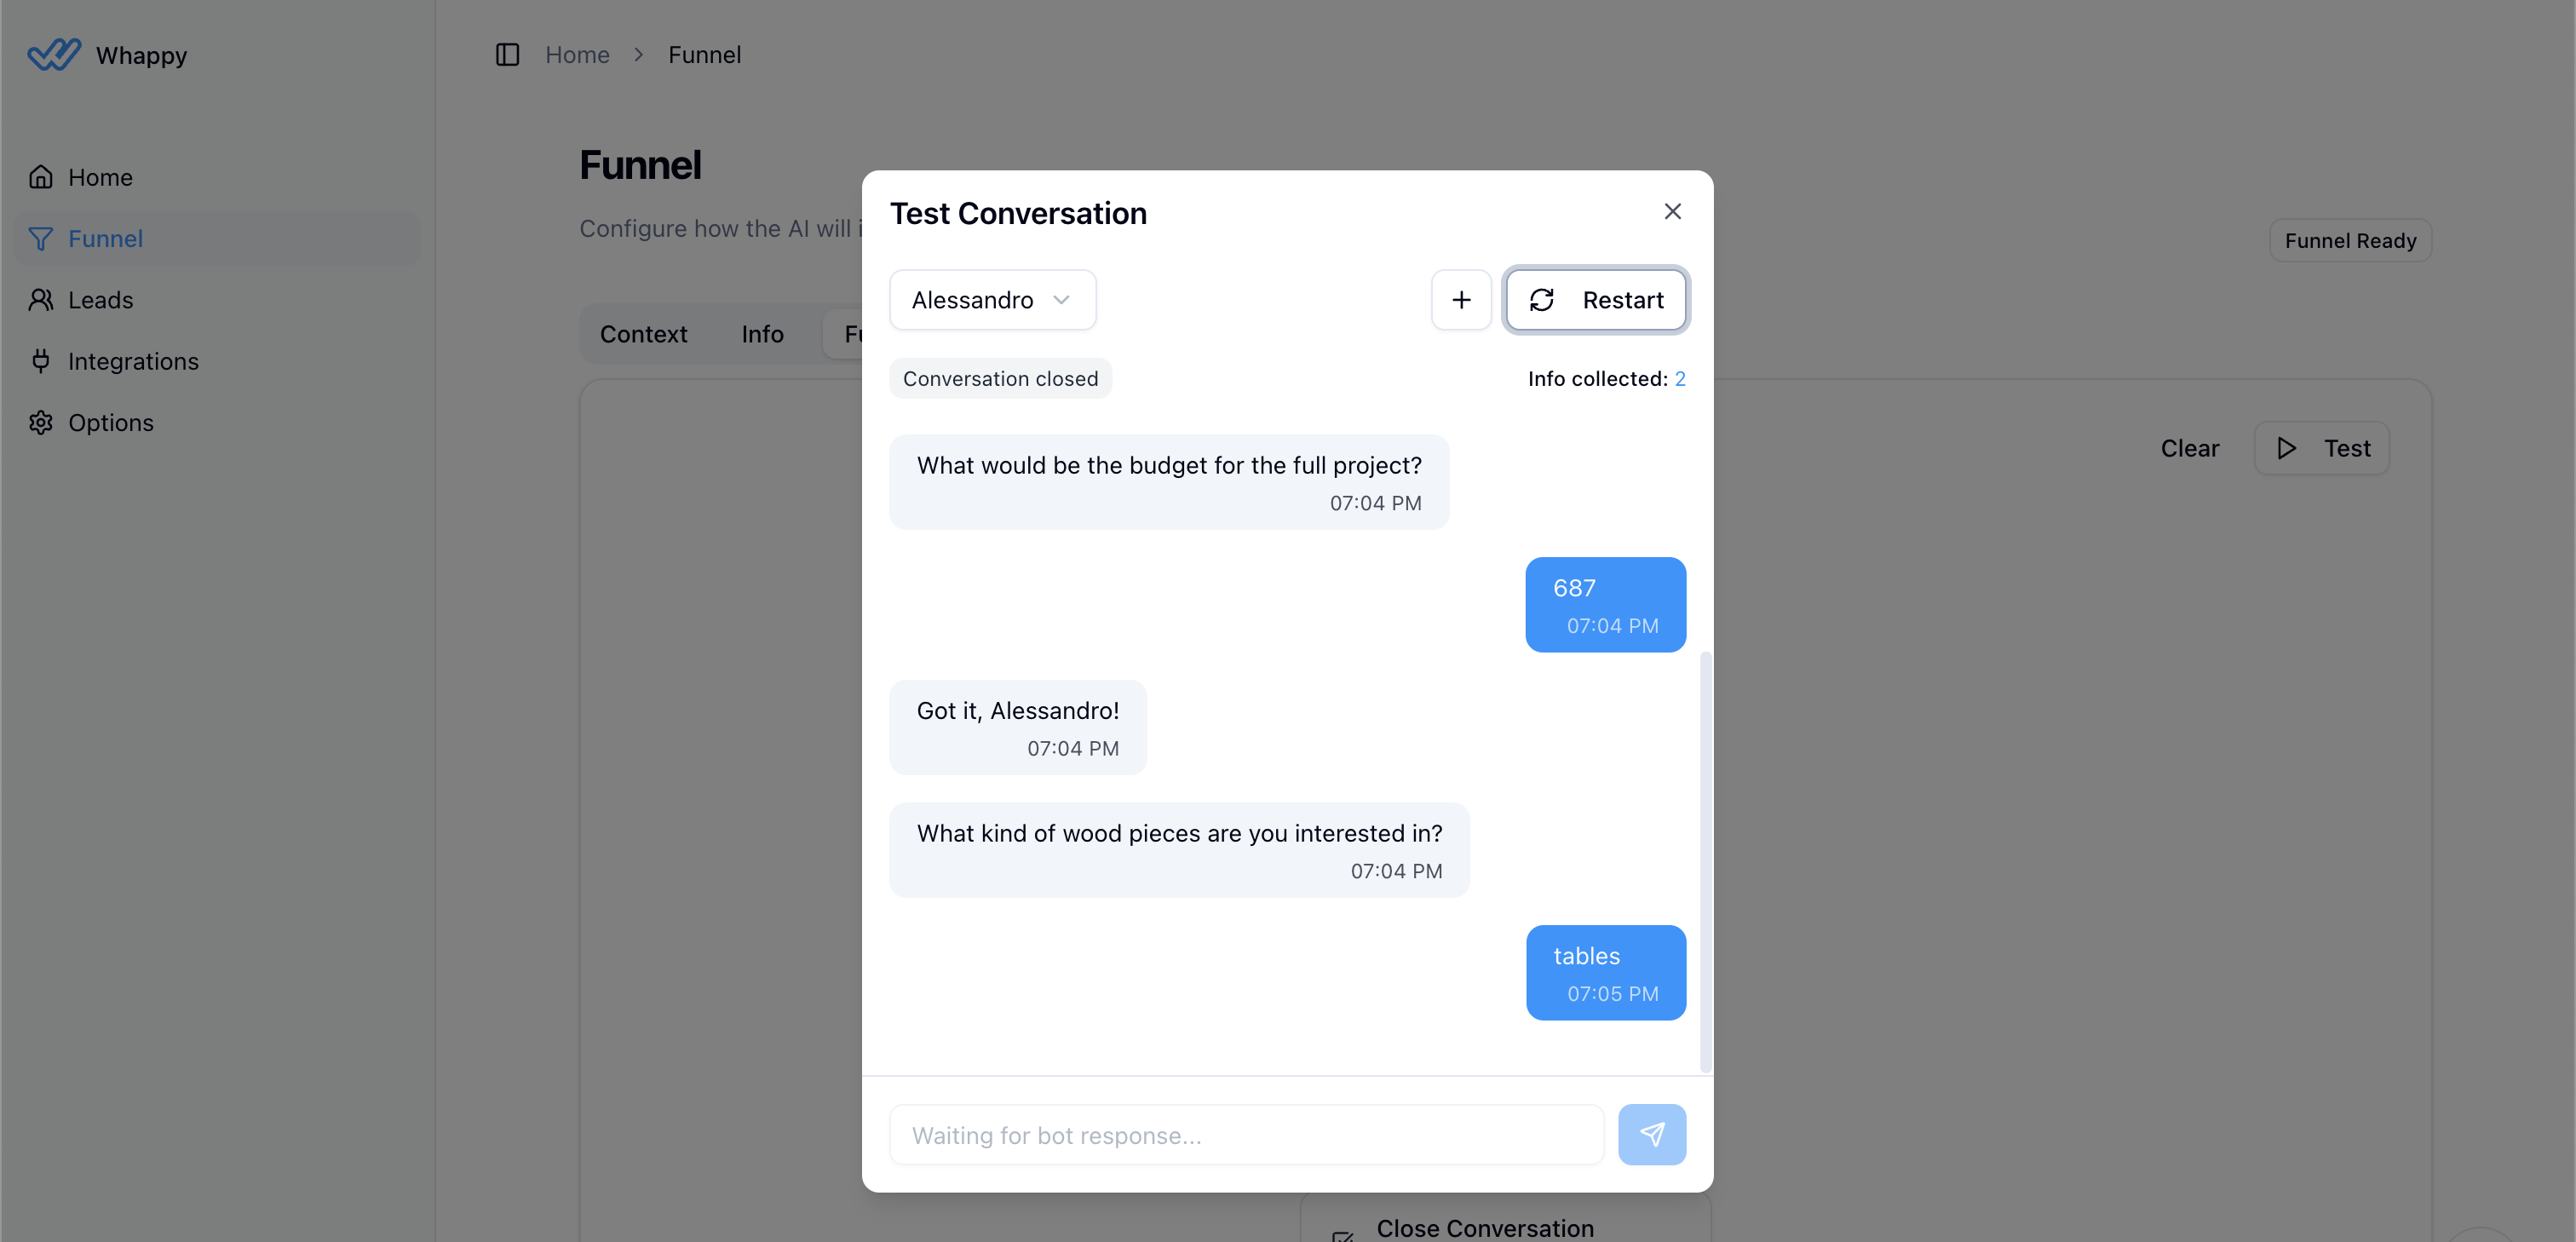
In the Funnel tab, create the conversation flow using drag-and-drop nodes: Build your conversation flow using simple drag-and-drop nodes to guide leads through qualification and booking.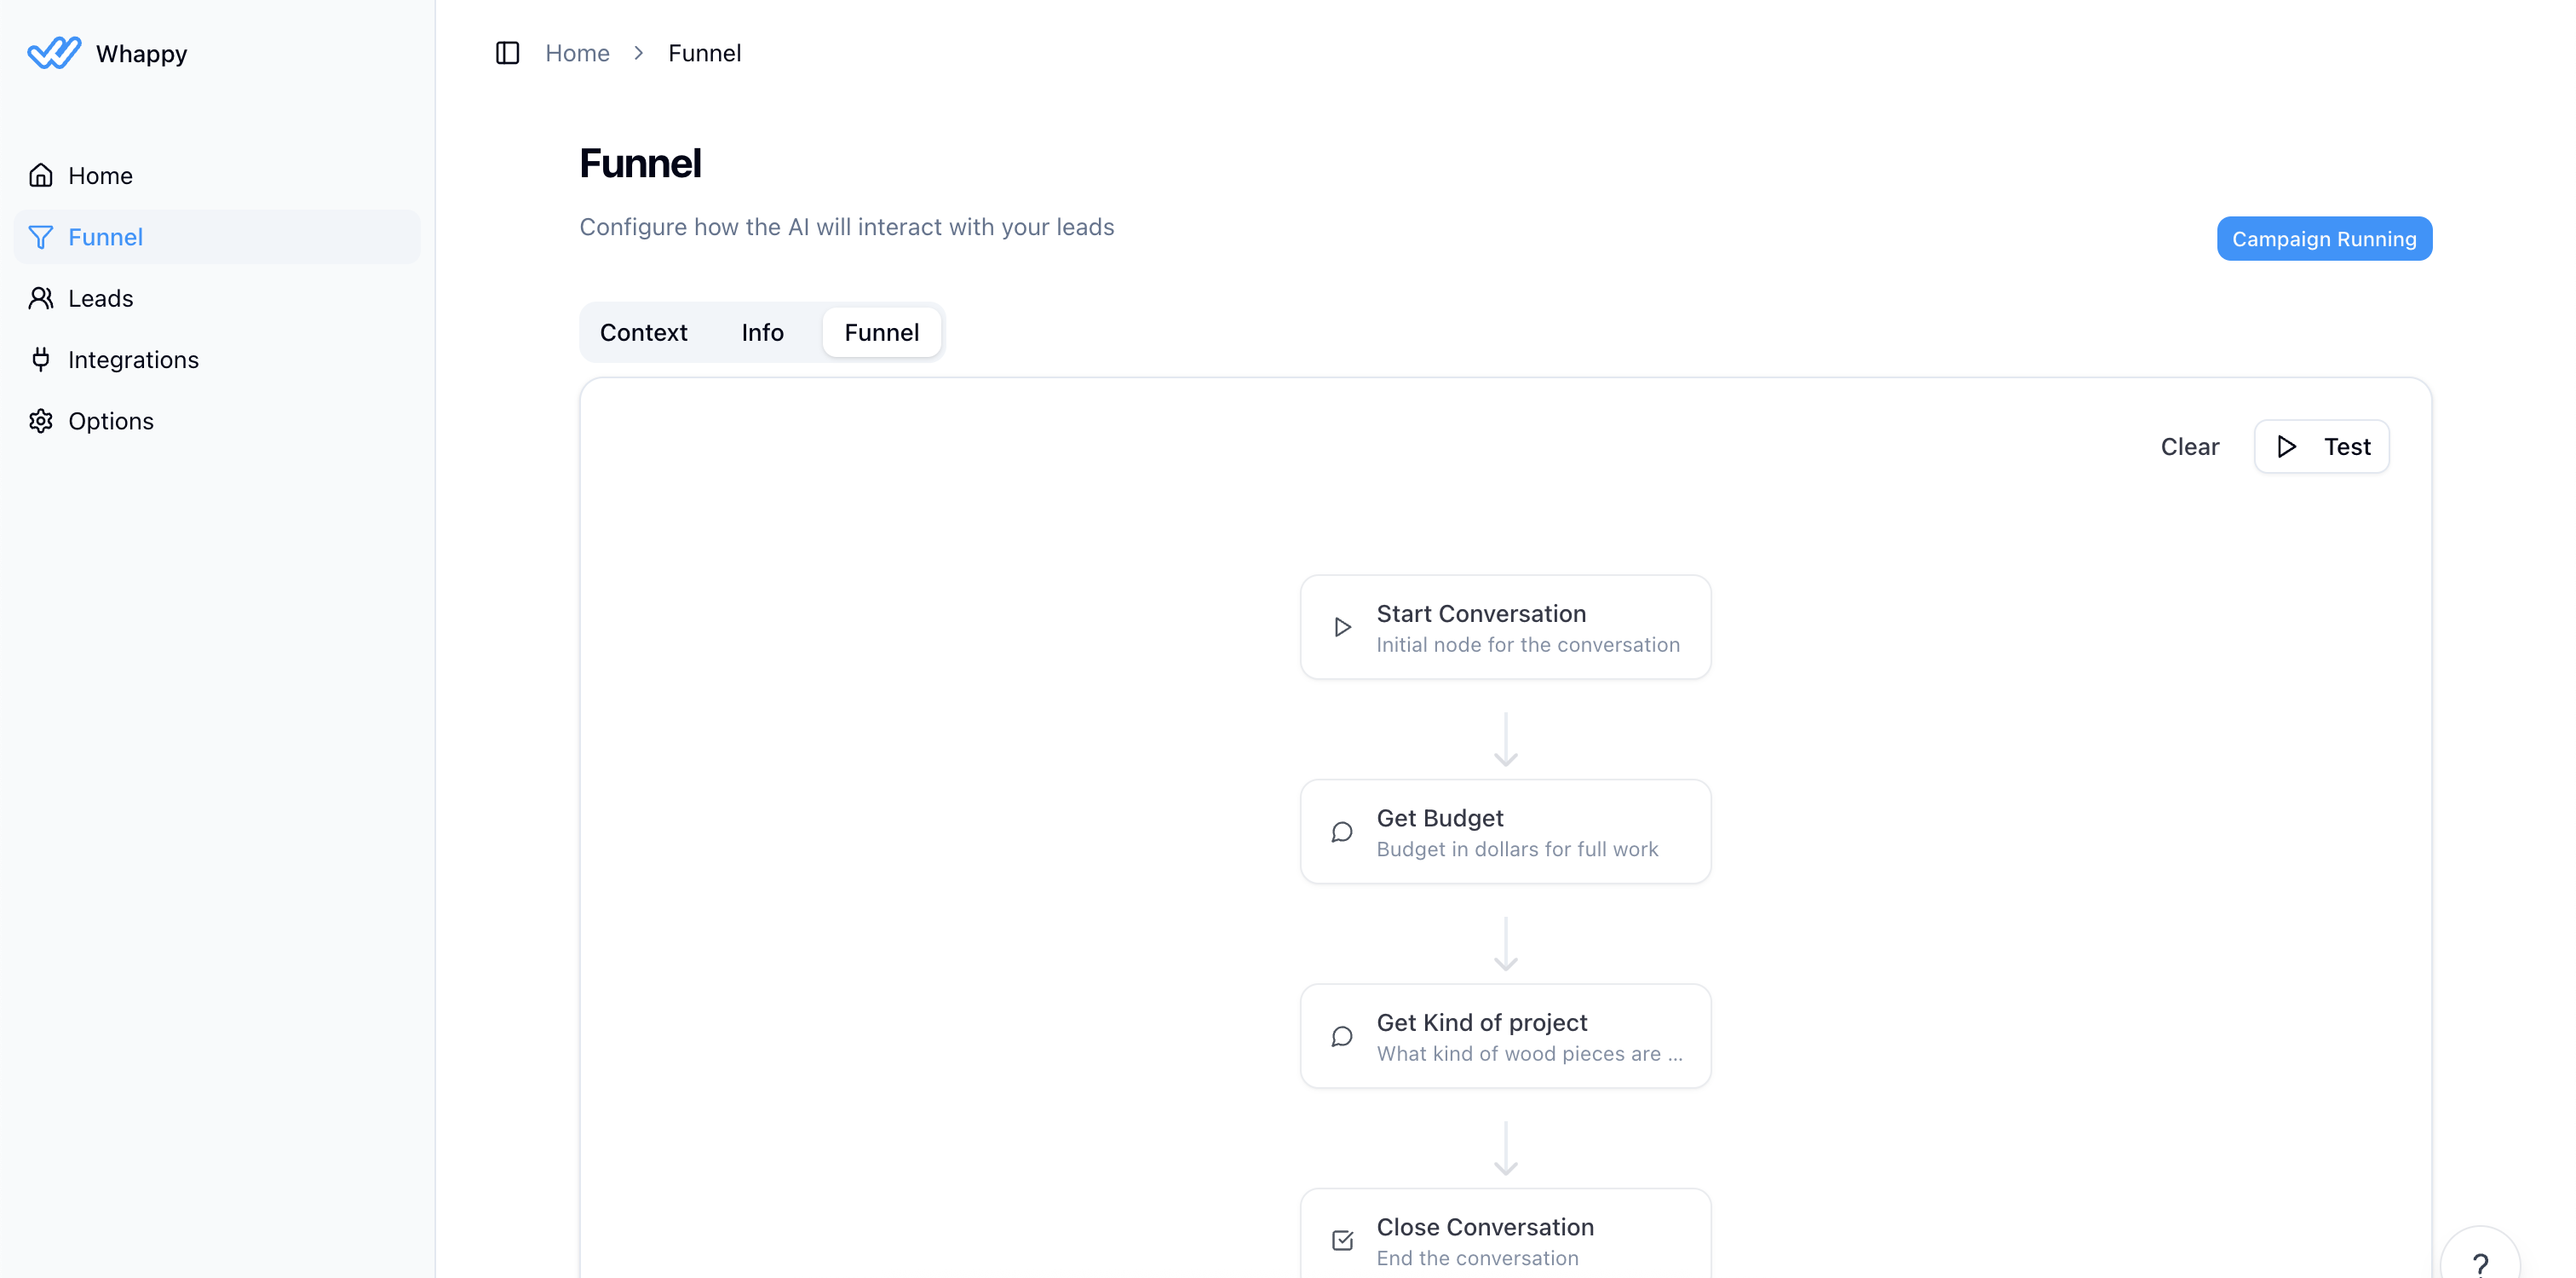
Use the Test button to simulate conversations and refine your funnel before going live.
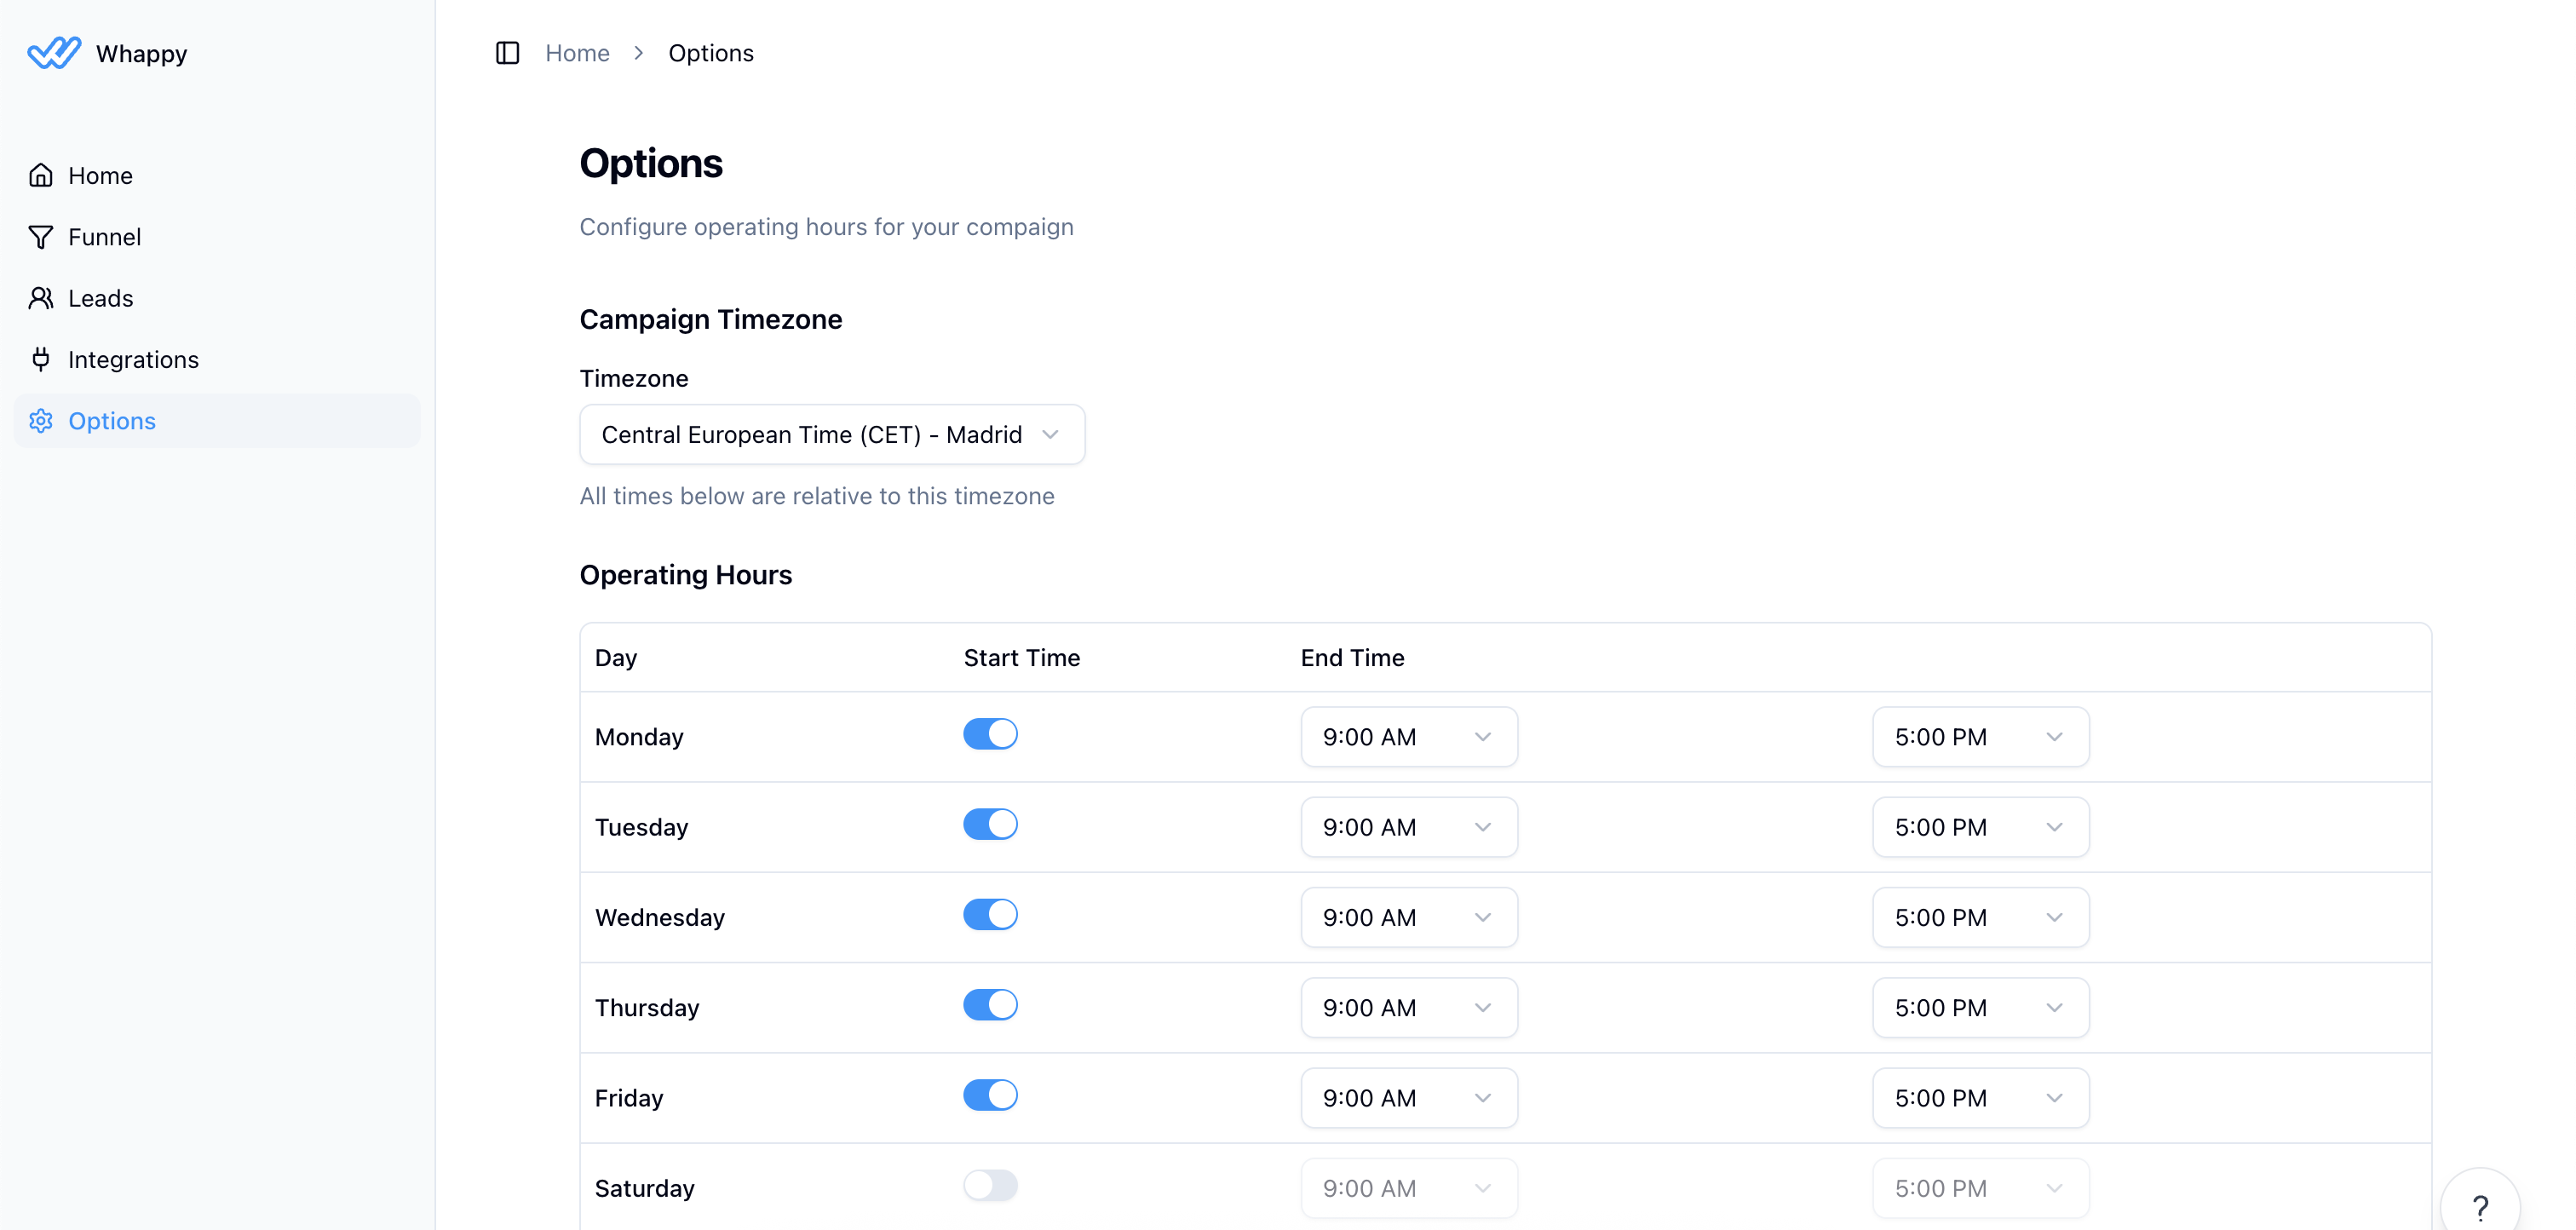
4. Configure Campaign Options
Set your operating hours and timezone in the Options tab:- Timezone: Select your business timezone
- Operating Days: Choose which days to run campaigns
-
Active Hours: Set start and end times for each day
5. Set Up WhatsApp Integration
Navigate to Integrations → WhatsApp to connect your WhatsApp Business account and configure message templates.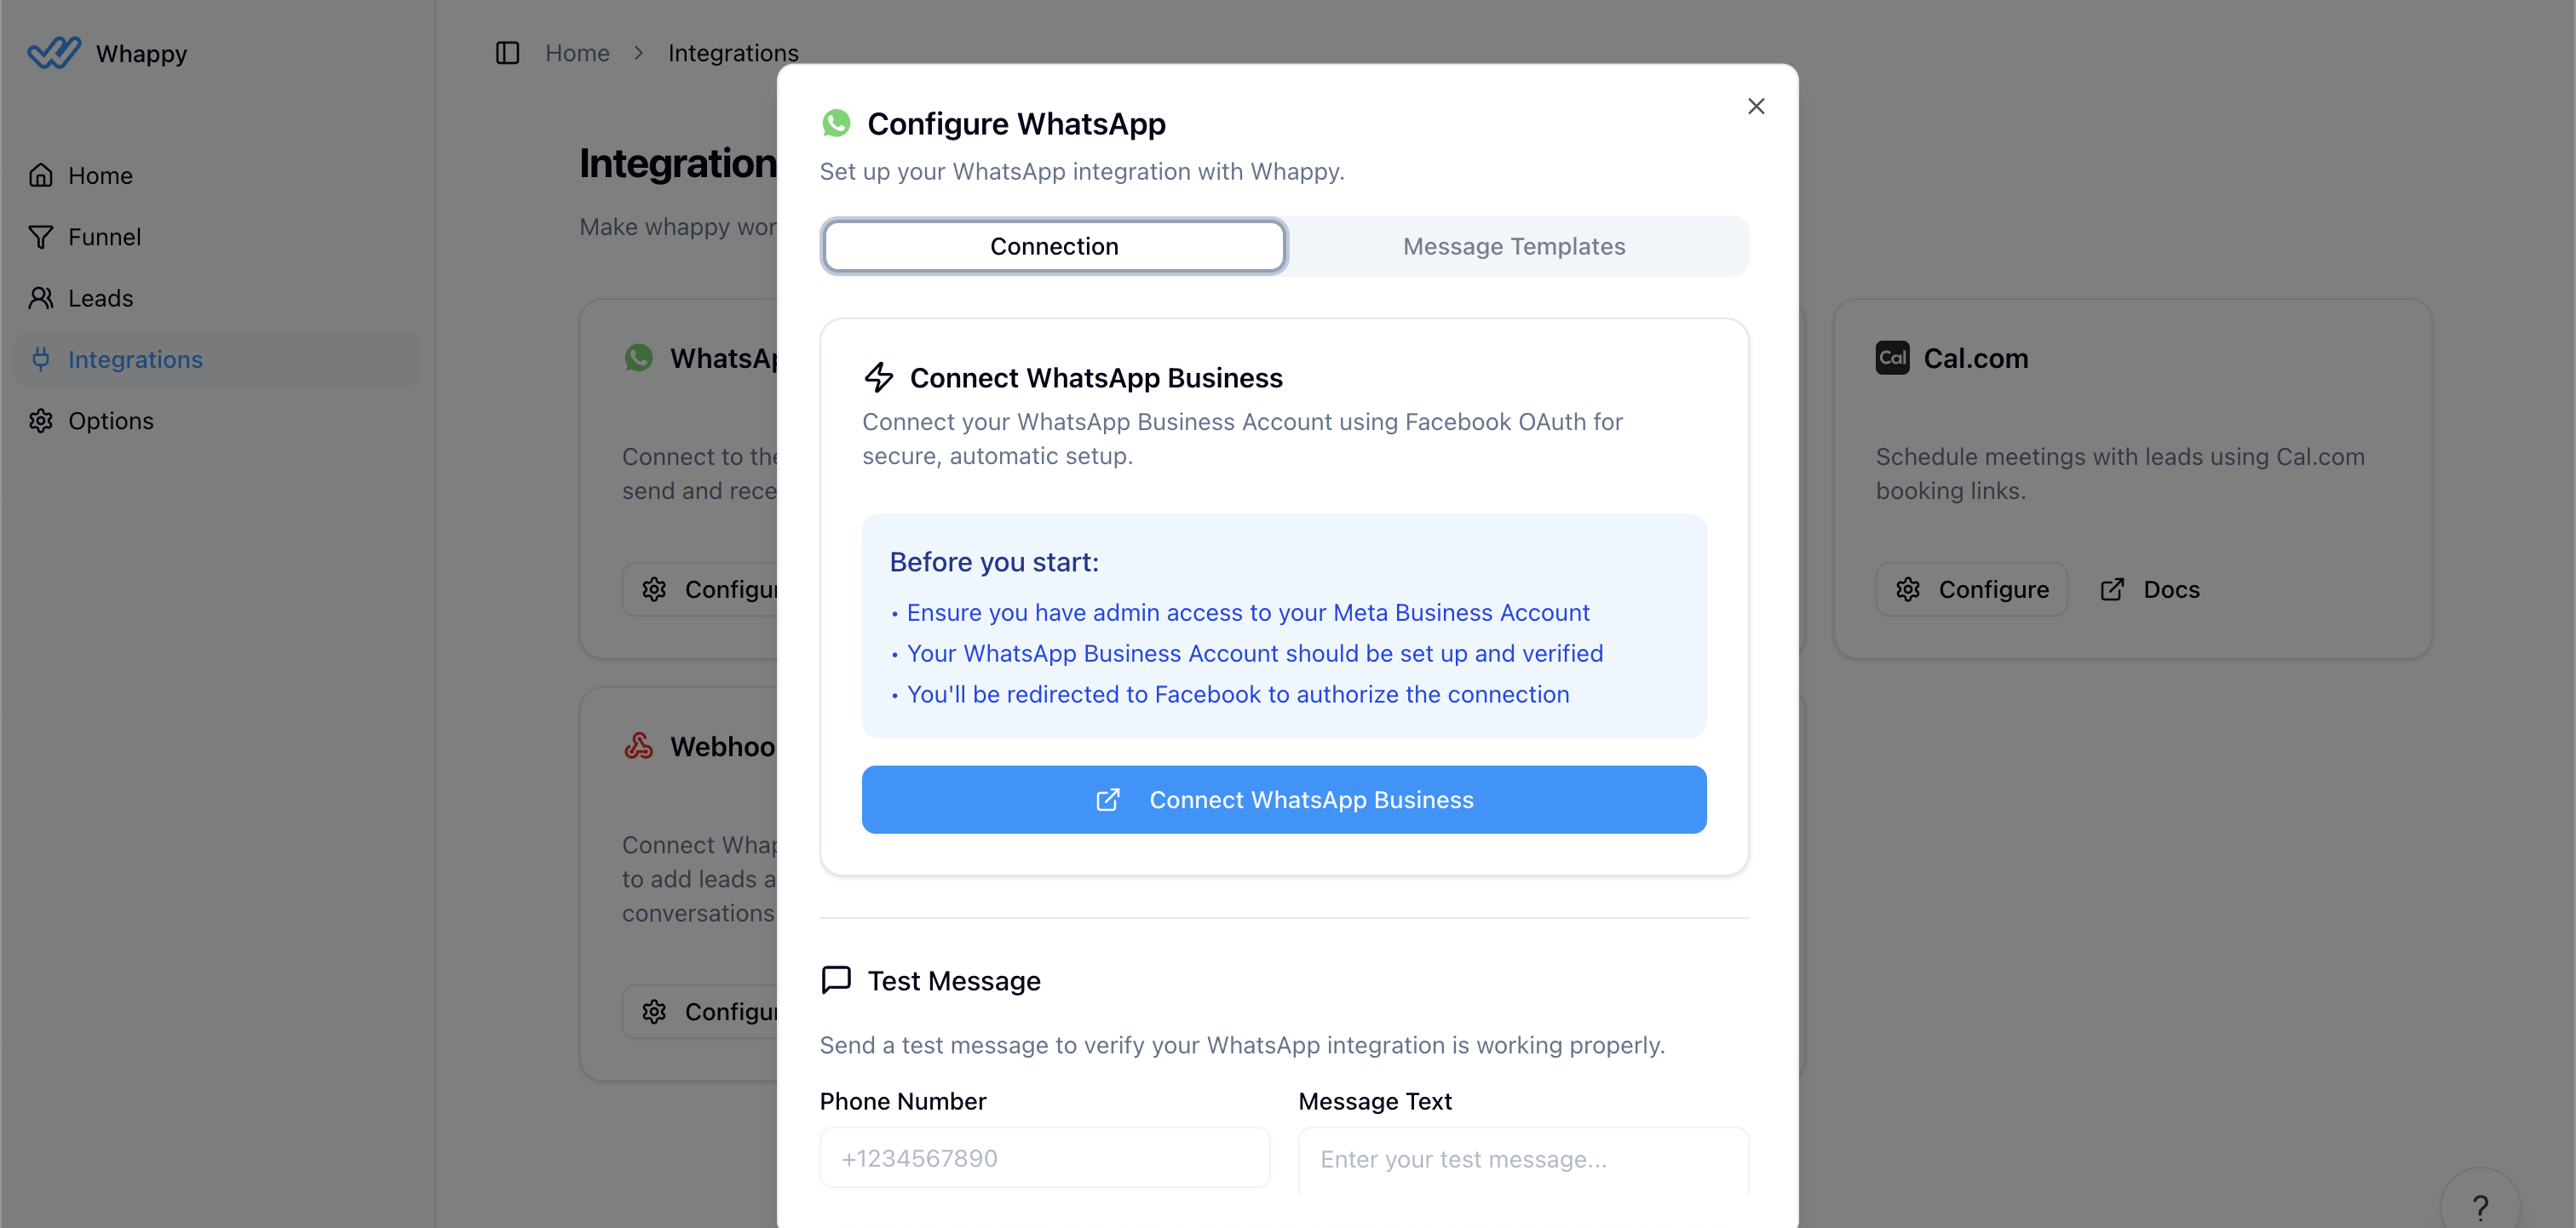
6. Test Your Campaign
Before going live:- Test the Funnel: Use the Test button in the funnel builder
- Verify Integrations: Check WhatsApp connection status
- Review Message Templates: Ensure they’re approved and working
7. Launch and Manage Leads
Start Your Campaign
Once everything is configured and tested:- Go back to your Campaign page
- Click the Start Campaign button
- Your campaign status will show as “Running”
Add Leads to Your Campaign
Navigate to Leads to add contacts to your campaign:- Manual Entry: Add leads individually
- Import: Upload lead lists
- Automation: Connect with Zapier or other tools
Monitor Conversations
Track lead interactions in real-time:- View conversation history
- See qualification status
- Check appointment bookings
- Export qualified leads
8. Optional: Set Up Additional Integrations
Scheduling Integration
Connect your calendar for appointment booking:- Sync your availability
- Let leads book directly through WhatsApp
Zapier Integration
Automate your workflow:- Send qualified leads to your CRM
- Trigger follow-up sequences
- Connect with other business tools
Next Steps
🎉 Congratulations! Your WhatsApp lead qualification system is now live. What happens next:- Leads will receive automated WhatsApp messages
- The AI qualifies them based on your criteria
- Qualified leads can book appointments automatically
- You receive notifications for high-priority leads
- Monitor conversation analytics
- Refine your funnel based on performance
- A/B test different message approaches
- Regularly update your lead qualification criteria
Need Help? Check out our detailed guides for Campaign Setup, Lead Management, or Integration Configuration.Your automated lead qualification system is ready to work 24/7! 🚀